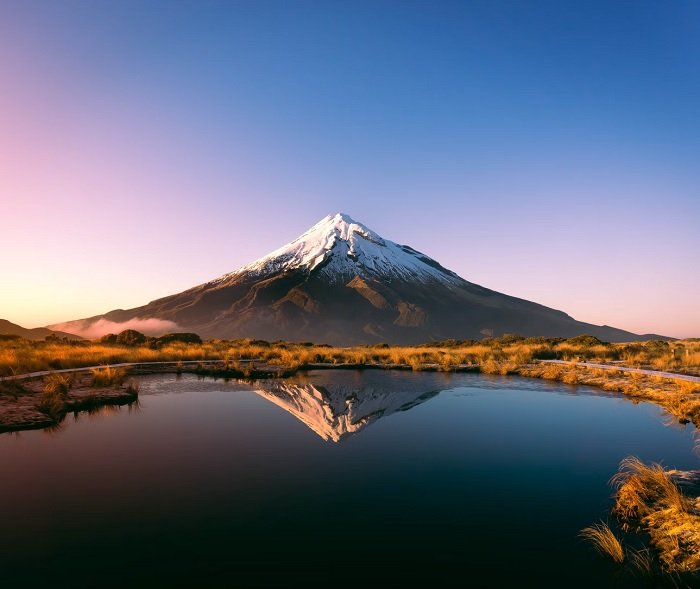
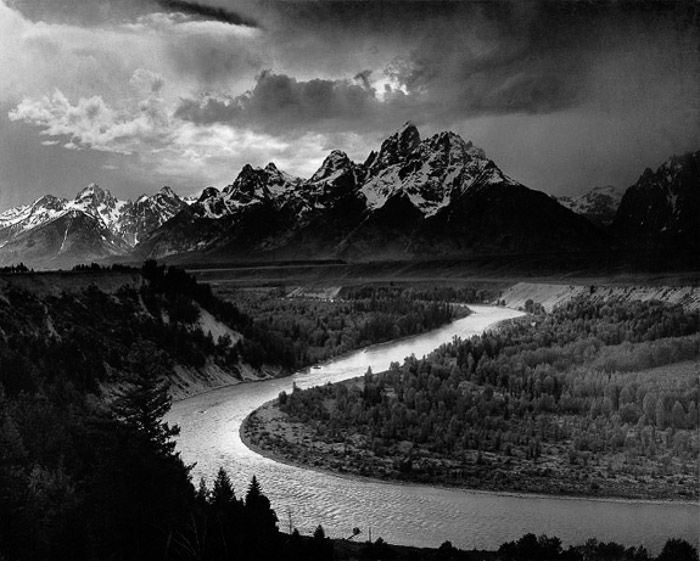
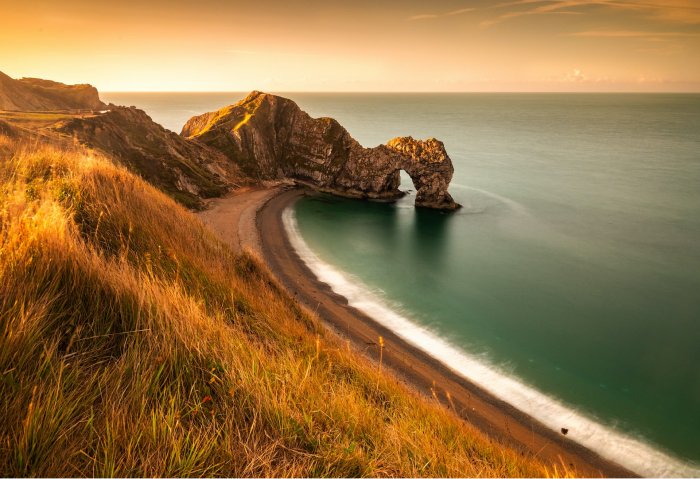
Nature photography covers shooting flora and fauna. This means plants, flowers, and animals, photographed in their immediate environments.
It’s challenging because of the variety of subjects and movement. But we’ve got you covered with all the nature photography tips you need.
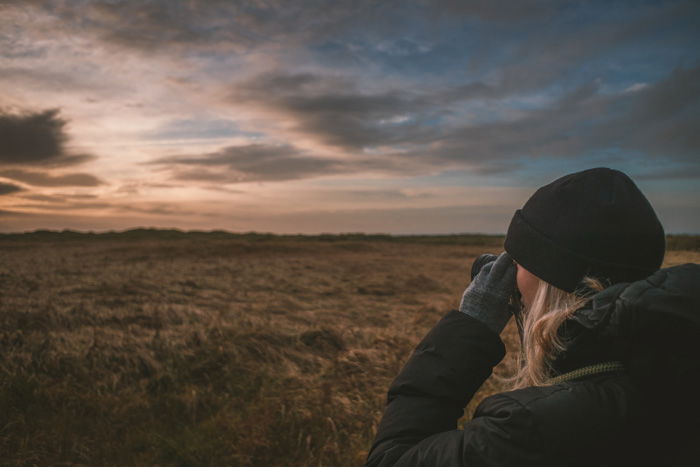
12. Pick the Right Lens for Nature Photography
There is a famous Boy Scouts saying – always be prepared. This applies to nature photography too.
Figuring out the best lens for a particular type of photography isn’t an exact science. You may have different goals for different shots.
In general, you’d do best to use a lens with a longer focal length. This could be a zoom lens, with a wide aperture.
This is for two reasons. First, you’ll want the longest reach possible. Some nature photography subjects, such as animals, will involve some distance. This way, you can observe and photograph without disturbing them.
Second, we’ll want to provide a sharp image of our subject against a creamy, blurred background. This will make the subject pop. To do this, you need to understand the foreground and background distances. Use a lens with a wide aperture such as f/1.4, f/1.8, or f/2.8.
11. Separate the Subject From the Background
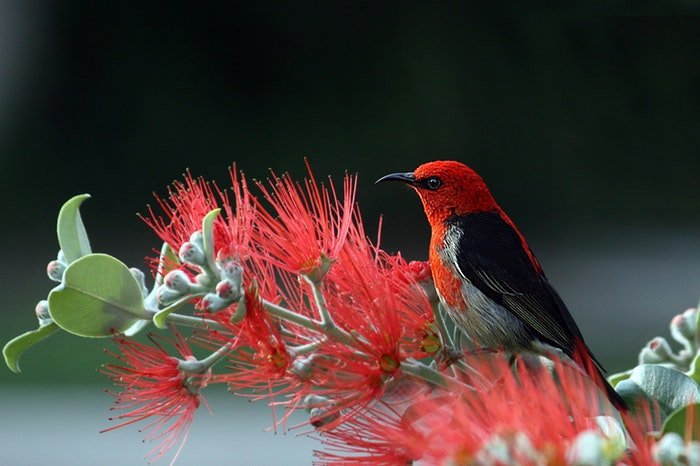
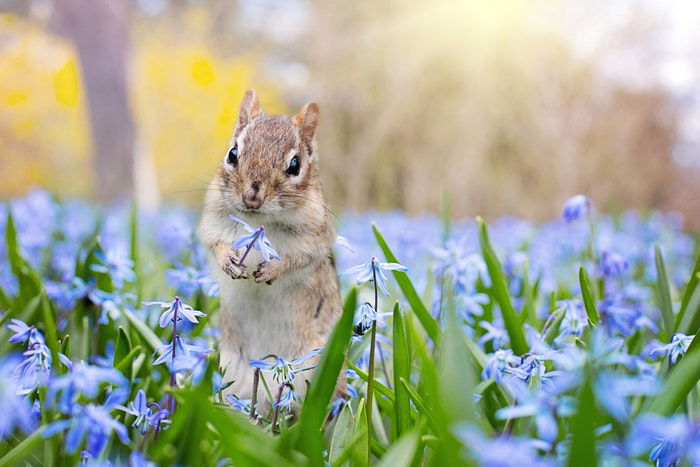
Nature photography usually features a subject such as a plant, animal or flower. This means that you need to separate that subject from the background of the frame.
You’ll need to judge the placement of the elements in the frame. And you’ll need to make a few adjustments.
First, you’ll want some distance between your foreground and background. This will help separate them in the shot.
Use a wider aperture (lower f-stop number) such as f/2.0 or f/2.8. Focus on the subject in the foreground. The wide aperture should yield a softer, blurry background.
10. Crop Close on Textures
We draw inspiration from nature for many things in life. From colors, to sounds, to patterns. Some of the most interesting subjects can be right in front of us.
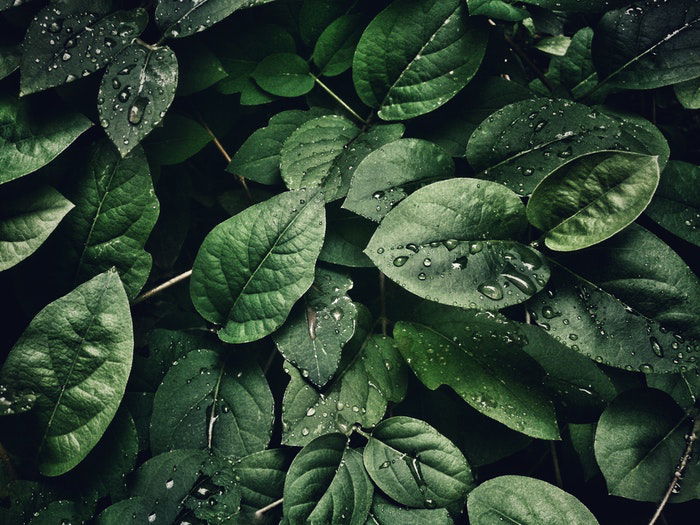
When shooting nature photography, zoom in and crop close on your subject. This could be tree bark, a leaf, the forest floor, a lizard’s skin.
There is a whole new world waiting for you when you look closer. For an even closer look, invest in a macro lens. These lenses magnify even the tiniest details and can produce some amazing images.
9. Study Your Subjects for Better Nature Photography
Nature photography is an interesting topic, and continues to be so all over the world.
It’s very important to study your subject, as far as nature photography tips go. This is for a few reasons. First, we can better capture images of things we understand.
Knowing your subject’s habits will also help you predict shots. You’ll know when that swan is about to charge, or when that particular plant is in bloom. And if you find out the animal you’re photographing isn’t so dangerous? Then you can start capturing close-up photography.
8. Shoot Your Subject in Their Natural Context for Powerful Images
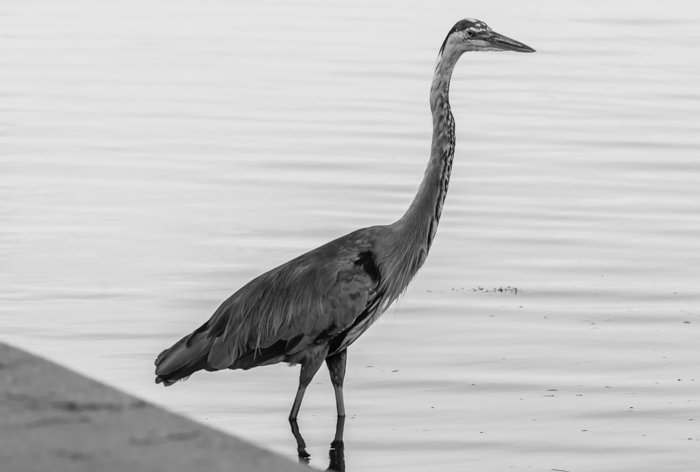
This isn’t a hard and fast rule, but rather, a guideline. If you’re going to shoot nature photography, try to keep everything in the shot natural.
There’s nothing wrong with taking a picture of the bird on a power line, or spider on the side of your house. It can make for some creative and interesting juxtapositions.
But if you’re after powerful nature photos, then photograph animals and plants in their natural habitat.
7. Take the Right Gear for Taking Nature Photography
We’ve already discussed lenses, and later we’ll touch on camera bodies. But it’s easy to overlook other useful items.
On the photography side, a camera bag with extra gear such as batteries and lenses is a no-brainer.
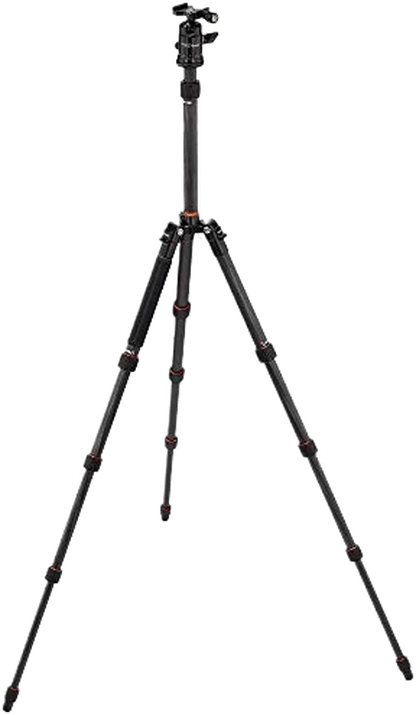
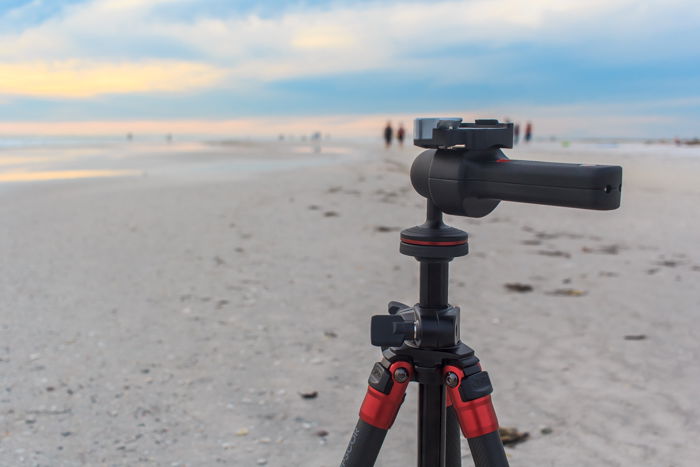
But how many times do nature photographers venture into a remote shooting location without their tripod? More times than you can count, I assure you.
Also, don’t forget to wear appropriate clothing for the location and season. It may not seem like weather for a jacket, but wait until the sun drops behind the horizon.
Plan ahead. Hats, gloves, and different shoes could all prove useful. This might be one of the most important wildlife photography tips for beginners.
What about navigation? Don’t depend on your phone. Bring a current map and a compass, and learn how to use them.
6. Find the Best Camera for Nature Photos
Shoot with what you want. You might be tired of the phrase “the best camera is the one you have with you”. But there is definite truth in that statement.
You can create amazing smartphone photography with an iPhone or Android device. Smaller apertures, dual-lenses and optic zooming are all becoming common features. These allow you to create some pretty compelling photos even without a DSLR.
To see what’s possible, check out our article here. And see what others have done with minimal gear and tiny camera sensors. Even national geographic photographers didn’t all have digital cameras.
5. Use Natural Light to Improve Your Photos
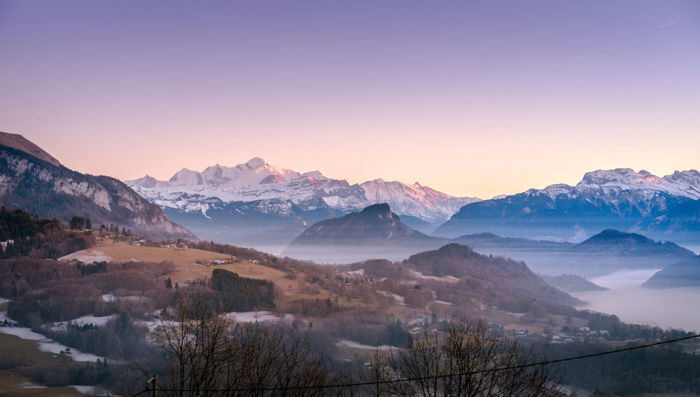
Natural light photography is outdoor photography using direct or indirect light from the sun or moon. Nature photos will look great in the morning or evening light in general. And during the golden hours in particular.
This light after sunrise and before sunset has a softer, hazy quality. It illuminates your subjects more evenly and eliminates the harsh midday shadows.
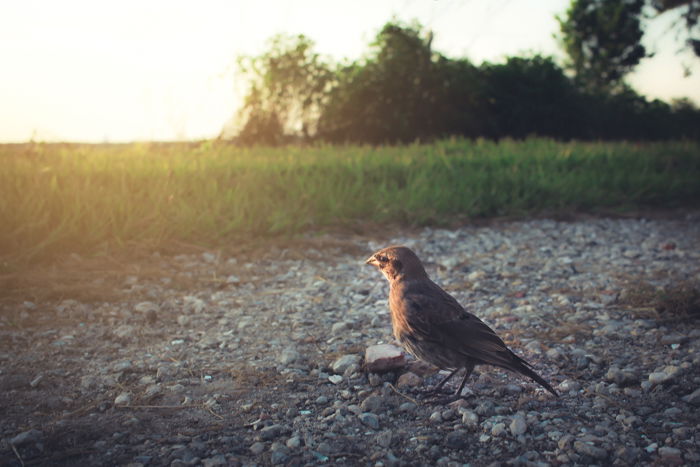
Imagine a small bird in a tree or even the leaves of that tree. If that’s your subject, it will be softly lit with the golden hues of a setting sun. That’s what I would call atmospheric.
This type of light can provide an emotional overlay to your images. This is hard to reproduce otherwise. You’ll notice the difference in the effectiveness of the shot. You might even notice a difference between morning and evening shots. Check for color temperature changes.
4. Choose the Best Time of Day to Get Perfect Nature Shots
There are advantages to shooting in the early morning or late evenings. This includes the likelihood of the area you’re shooting being less crowded.
This is especially important in high-traffic “tourist” areas. These are popular national parks and other landmarks.
If you’re shooting animals, aim for mornings and evenings. You’re more likely to score great wildlife shots then. Many animals escape the heat of the day. They are much more active when it’s darker and cooler.
3. Use Different Angles and Perspectives to Stand Out
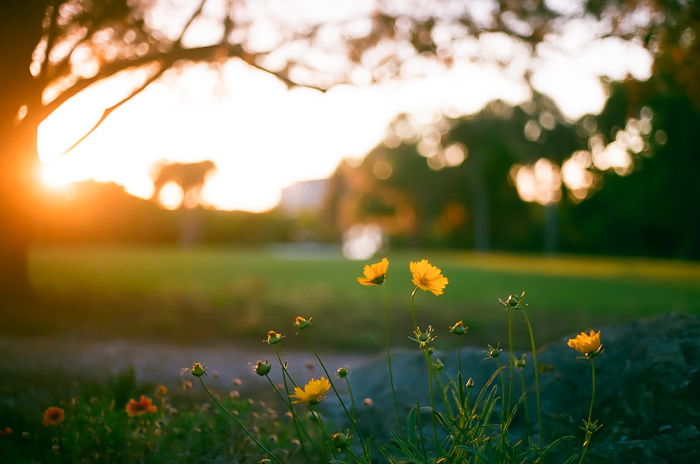
Landscape photography isn’t about pleasing someone else. Or appealing to someone else’s sense of style. It’s about shooting what makes you happy.
Take the time to study other nature photographer’s work if you’ve not discovered your own style yet.
What angles do they tend to use? What colors do they coordinate within the frame? How close do they get to their subject?
Try to do something different. Go against the grain! Use a different angle, shoot a close-up where others would shoot wide-angle.
Nature offers us unlimited beautiful setups. Go out there and take advantage of them! Using your own creativity is one of the best wildlife photography tips for beginners.
2. Bring Your Crop Sensor Camera Body
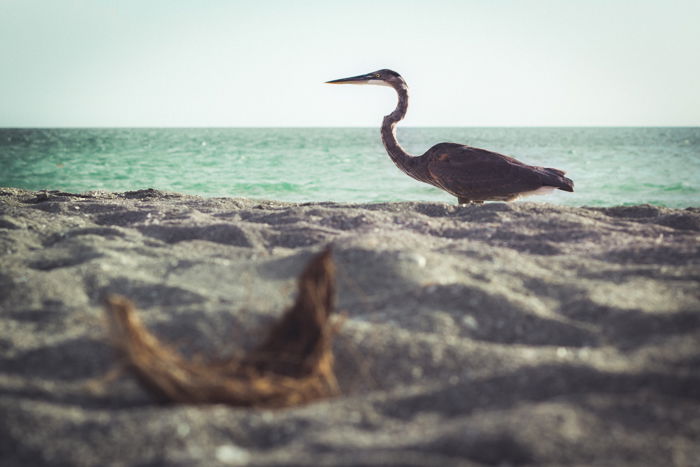
If you have a full frame and a crop sensor camera body, consider leaving the full frame at home. Lenses have a more pronounced effective focal length on crop sensor cameras.
This is especially useful when shooting animals. There is a distance you must maintain to avoid frightening them. A 50mm lens on a crop sensor camera body will show a 1.6x effective magnification over a full frame camera. Using a crop sensor means getting as close as you can for your nature and wildlife photography.
1. Respect the Animals and Environment
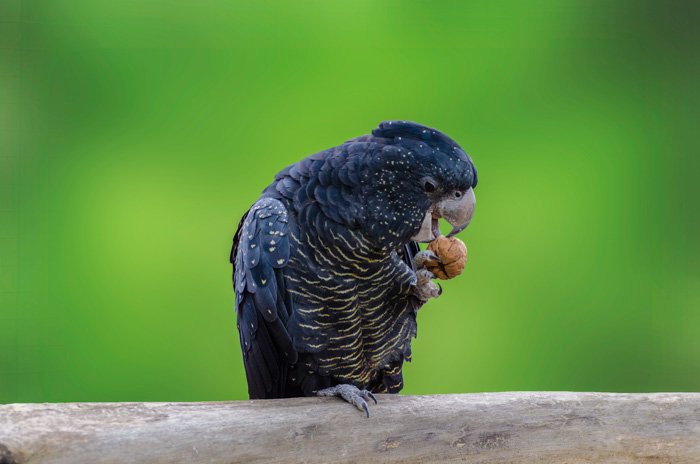
It’s impossible to explain this without using the phrase “leave only footprints”. As cliche as it is, it couldn’t be more accurate.
Be sure to take home any rubbish, even if you think an item is biodegradable. An orange or banana peel can take up to 2 years to decompose.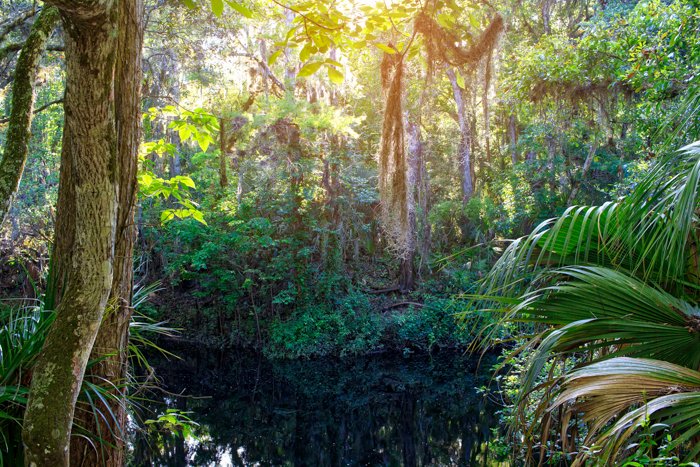 Respect the environment you’re shooting. You have to understand the importance of not disturbing natural environments.
We are photographing a sensitive world that is the home of many living things. We should make every effort to have a minimal lasting impact on that world.
Conclusion
Are you a nature photography lover? What other tips would you give a beginner? And what are some of your favourite subjects and environments in the great outdoors to shoot in?
Join the discussion and comment below!
If you want to make the most of the great outdoors, then try our Simply Stunning Landscapes course!
For more great nature photography tips, check out our article on high and low key wildlife photos.

